Sunday, April 17, 2011

Kite Festival

Today we went to a kite festival. There were so many young kids there and best of all it was free! They let the kids decorate their own kite but Grandma ended up buying a beautiful kite with a really really long tail. It was soooo windy that we had trouble getting the kites to stay up. I foresee this being an annual event at our house.

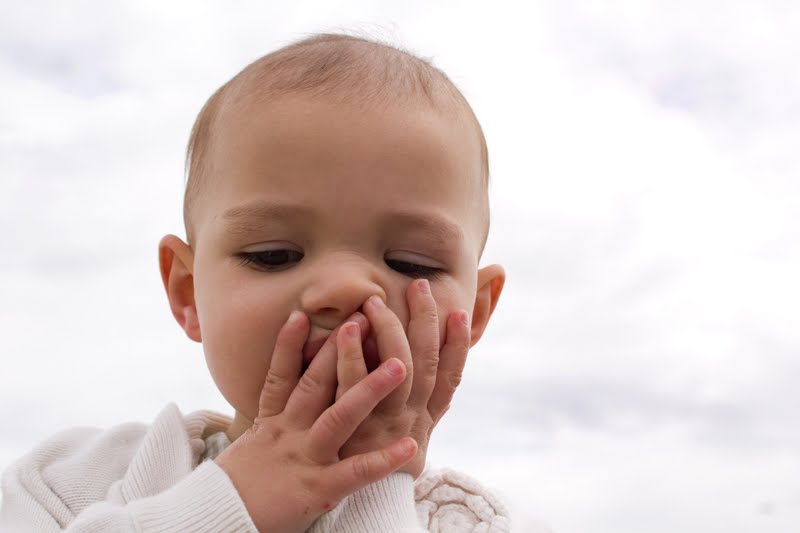
I tried a new Photoshop technique in the picture above. I adjusted to color curve using the solarizing tool. Unfortunately, I keep getting an obvious edge around G's face. If anyone has any suggestions I am ready to hear them!


We have been calling this her cupcake dress all day because it has such a full skirt. I am not sure she was a fan but it is now 4:15 pm and she is still wearing it.

Thursday, April 14, 2011

Butterfly Pavilion

We went to the butterfly pavilion today. Crowded with field trip kids but still very nice.


 My little man was braver than me and held Rosie the tarantula. My kids surprise me everyday.

Monday, April 11, 2011

Chicken Puberty

When we first got chickens I wasn't well prepared for how ugly the adolescent chicken is. They are so awkward! They out grow the cute baby chick phase pretty quickly (a week or two at most) and then spend what seems like an eternity looking like this:

Some day I will grow into my comb!
Who do you think you are!

She will be a pretty chicken by the end of summer.
I sympathize with you little chickens. You just have to trust that puberty does end and by the end of summer you will be as beautiful as a chicken can be.

Saturday, April 9, 2011

Owls, Bowties and Mustaches, Oh My!

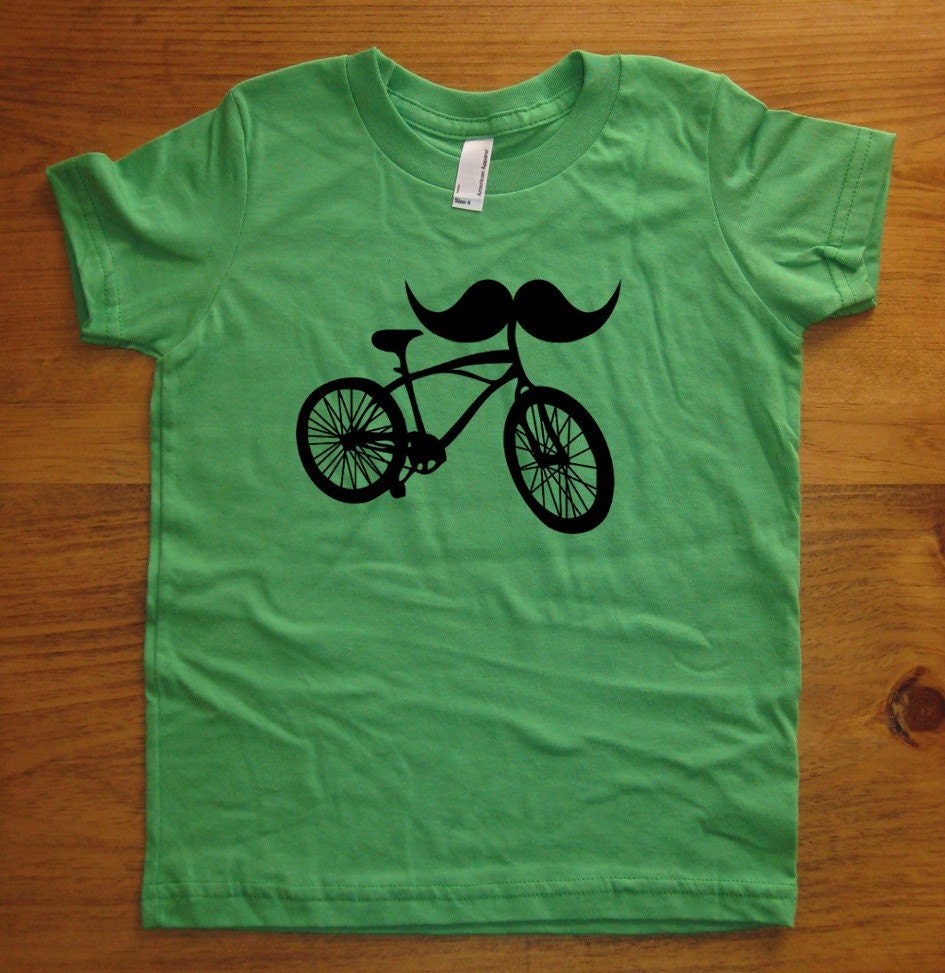
Have you noticed trends in the crafting world? First it was bicycles, then owls, followed up by mustaches and lately bow ties. Let's not forget over sized cowls, ruffles, flowers on everything and fingerless gloves. Everywhere I turn in the blogosphere and Etsy these motifs are unavoidable. Don't get me wrong, I love them (at least for a little while).


Sometimes they are even combined!

So then I started thinking what the next big trend will be. Here is what I have come up with:
1. Hour glasses
2. Keys
3. Skunks
4. Binoculars
5. Rabbits
6. Teapots
7. Thought bubbles
8. Chickens (fingers crossed that this one will really take off)
9. Granny Squares
10. Fringe

What do you think the next crafting trend will be? I would like to say I could offer a prize but all you get is bragging rights to saying you called if first.

Friday, April 8, 2011

Small Victories

When I was pregnant the first time I knew it was a boy even though we never had it confirmed. My second pregnancy I had no idea what I was having so I stayed up at night worrying about things like:
1. What do you do with a little baby girl
2. If it is a baby girl who will teach her how to wear makeup - cause I still haven't figured it out.
3. I don't know how to french braid!
4. What if she wants to take dance lessons, how will I feel about that? (I used to train professionally to be a modern dancer, but that is a story for another time.)
5. What if she likes or even loves the Disney Princesses?

Today I can happily report that I can cross number 3 off the list! It isn't pretty but I did manage to form some version of a french braid in my own hair after being inspired by a hip mom at Costco this past weekend. I loved her hair style so much I had to stop and tell her (who doesn't like a random compliment?) She told me her secret was to pull from only one side of the braid! Stroke of genius I tell you!


Thank you random hip mom from Costco. You gave me the courage to try again and with only minor whining and arm fatigue I was able to cobble this together. Sure it is a little messy but it is identifiable as a french braid. I wasn't sure what to do with the braid when I was done so into a low bun the braid and the rest of my hair went.

Friday, April 1, 2011

Cocktails and Craft Challenge and Giveaway

Are you ready for some crafty challenge awesomeness? Join me for the Dollar Store Craft Challenge and have a chance to win an adorable crochet or knitting pattern from HandMadeAwards. Look at these cute rabbit pattern they offer - perfect for Easter!

 
Details:
Create something you love using items purchased at your local Dollar Store. Your total purchase should be under $10. You can use items you already have at your house (scrap fabric, yarn, scissors, sewing machine, drill, glue) but the main items for your project have to be purchased at the Dollar Store. 

Link up your project below and a panel of guest judges will pick a winner. Be sure to mention how much you spent and tutorials are encouraged. 

We will also have one winner picked at random from our followers. So if you don't feel like being crafty but want a chance to win one of the patterns, become a follower and/or join me on Facebook.  Leave a comment letting me know you would like to participate in the drawing. 

Looking for some inspiration? Check out the site Dollar Store Crafts. They have projects and tutorials that show how incredibly talented and resourceful people are. 

Winners will be selected on Friday, April 22nd. Go get your Dollar Store Craft on! 
 

Friday, March 25, 2011

Perfectly Paired Girl's Dress - Crochet Pattern

Perfectly Paired Girl's Dress

I have been wanting to make G a dress that combined crochet and fabric. I love crochet/knit dresses for her but if we are being honest here, I am wanted something faster because I can be lazy. I thought of making a formal pattern but 1) I didn't take super great notes when I was creating it and 2) I don't have the time to create a bunch in varying sizes. So consider this a semi-tutorial and do with it as you will.

Materials:
I used cotton yarn and cotton fabric. 
I think I used a size 5.5 mm/I hook - but the kids ran off with it so I can't confirm at the moment.
One yard of fabric
Buttons

Step 1: Measure around the chest of the gal that will be wearing this fabulous new dress

Step 2: Create a chain as long as your measurement from Step 1 and then add an inch or two - depending on how loose you want it.

Step 3: I did three rows of single crochet

Step 4: Decide where you want the button holes to be and then single crochet to that stop, chain 2, skip two stitches and continue. When you get to same spot on the opposite end, chain 2, skip two stitches and continue with single crochet to the end. Add another row or two of single crochet and bind off.

Step 5: Fold your rectangle in half to find the middle. Decide how wide you want the apron top to be and pick up equal amounts of stitches on each side.  I did two rows of single crochet

Step 6: Sc2tog on the first two and last two stitches of each row. This will create the taper. Repeat this until you have the top to your desired width. I then added two more rows of single crochet. Bind off.

Step 7: I used a contrasting color and picked up stitches along the edge. I just used a simple single crochet edge. Bind off. 

There the crochet part is finished! My sewing skills are pretty basic so I needed something simple. Shall we carry-on??

Step 8: I took one yard of fabric and cut it half (selvage to selvage). Create your hem, I  added some fancy-shamancy stitches just so I could test out my new machine.

Step 9: Using my ruffler foot (or a gathering technique) I created a gather along the top edge. I then went along the top with my pinking shears to prevent fraying.

Step 10: Sew the top of the skirt to the bottom of the crocheted bodice using a straight stitch on my machine. I just laid the bodice on top of the fabric and pinned - not right sides together like you would normally do with sewing. Sew up the back seam until you reach the bodice. Sew up the bodice using your preferred method, I used a slip stitch. Weave in ends.

Step 11: To create the straps I made double-fold bias tape and top stitched around. To get the length I measured G from the top of the apron to where the button holes are. I wish I had then added two inches so I could add more buttons as she grows, but that is for next time. I then sewed those to the crocheted bodice.

Step 12: Add buttons. 

Step 13: Step back and admire your hard work.

I am hoping that G can get two years out of this dress since I made it with crisscrossed straps.
If you have any questions let me know. I know this wasn't the greatest tutorial but consider it a chance to break out your artist license.

Creative Commons License
Perfectly Paired by Sarah Boccolucci is licensed under a Creative Commons Attribution-NoDerivs 3.0 Unported License.

Related Posts Plugin for WordPress, Blogger...